Showing posts with label Clothing. Show all posts

Tuesday, November 20, 2012

Turkey Shirt

I just had to share with you the little turkey t-shirt I made for my granddaughter to wear on Thanksgiving.

My daughter saw this on Pinterest and asked me if I could make one for Michelle, so of course I said yes.

Here is the pic of the one my daughter pinned from the blog Love From Texas:


Here is my version:


I ironed a piece of Heat & Bond Lite on to a small piece of brown cotton fabric.

I downloaded a turkey cut file from Silhouette Studio and cut the fabric body out with my Cameo. 

I traced the outline of the body on to my shirt, then pinned the ribbon around the outline and sewed the ribbon on with my sewing machine. 

Then I ironed the turkey body on to the shirt, over the ribbon, and reinforced it by sewing around the body with my sewing machine also.

I cut the beak and waddle out of paper, again with my Cameo, and used the paper pieces to trace an outline on my Turkey which I then satin stitched.

I sewed a couple black beads on for eyes.


I can't wait to see it on her!!!!!!!


Monday, January 9, 2012

Valentine's Day Top & Blog Candy Winner!

Happy Monday all, hope you are having a great start to your week!!

First I'd like to announce the winner of the bog candy from the El dia de Reyes blog hop. I used Random.org and the number chosen is.........

#8 - Beebeebabs!

Beebeebabs said...
Beautiful work thanks for sharing!

Congratulations Beebeebabs, send me your address and I will get your prize mailed to you.

I'd also like to share a top I made for my granddaughter for Valentines day. It was made similar to the top I did for her at Christmas which you can view here.


Here is my princess wearing her new top:


Supplies used: White t-shirt - Walmart; ribbon - my stash; Fabric-Tac glue - Walmart

Pin It

Tuesday, November 29, 2011

Christmas Tree Shirt/12 Days of Christmas

Today is day five in the 12 Days of Christmas blog hop. I hope you are enjoying the hop! If you just popped in to see me you'll want to start at the beginning of the hop with Sylvia at Bella Scrapbook Designs. If you arrived here from my friend Gaby's blog - Gaby Creates you are on the right track.
Here is the full line up if you get lost:
1. Sylvia - www.bellascrapbookdesigns.blogspot.com
2. Sandra - www.365daysofcricut.blogspot.com
3. Patricia - www.creativediva98.blogspot.com
4. Gaby - www.gabycreates.com
5. Esther- www.forthejoyofcreating.blogspot.com
6. Monica - www.simplycricutting.blogspot.com
7. Anita - www.anitaandbugs.blogspot.com
8. Jessica- www.chick-n-scrap.blogspot.com
9. Sandy - www.thecraftycreationspot.blogspot.com
10. Alina- www.neverstopscrapping.blogspot.com
11. Veronica- www.mommyscraftycreations.blogspot.com

For today I have a darling shirt you can make for any little girl. I saw a t-shirt like this on Pinterest. This is all you need:


For this shirt I bought a little red long sleeve t-shirt at Walmart for $3.88. I simply cut several strips of ribbon in graduating sizes. I looped a piece of brown ribbon and sewed it on to the shirt for the tree trunk. The other pieces I glued on with fabric glue. For the top of the tree I tied the piece into a bow. Viola a cute Christmas top for next to nothing!!


And here is my sweet little granddaughter wearing her shirt.


Supplies used: T-shirt, Fabri-Tac - Walmart; ribbon - my stash

I will have a blog prize at the end of this 12 Days of Christmas blog hop. All you have to do to be entered in the drawing is to be a follower and to leave a comment. If you leave a comment on each day you will be entered in the drawing one time for each comment, so you can have up to 12 entries in the drawing.

Now you are off to see what Monica at Simply Cricutting has created!!!!

Pin It

Sunday, October 17, 2010

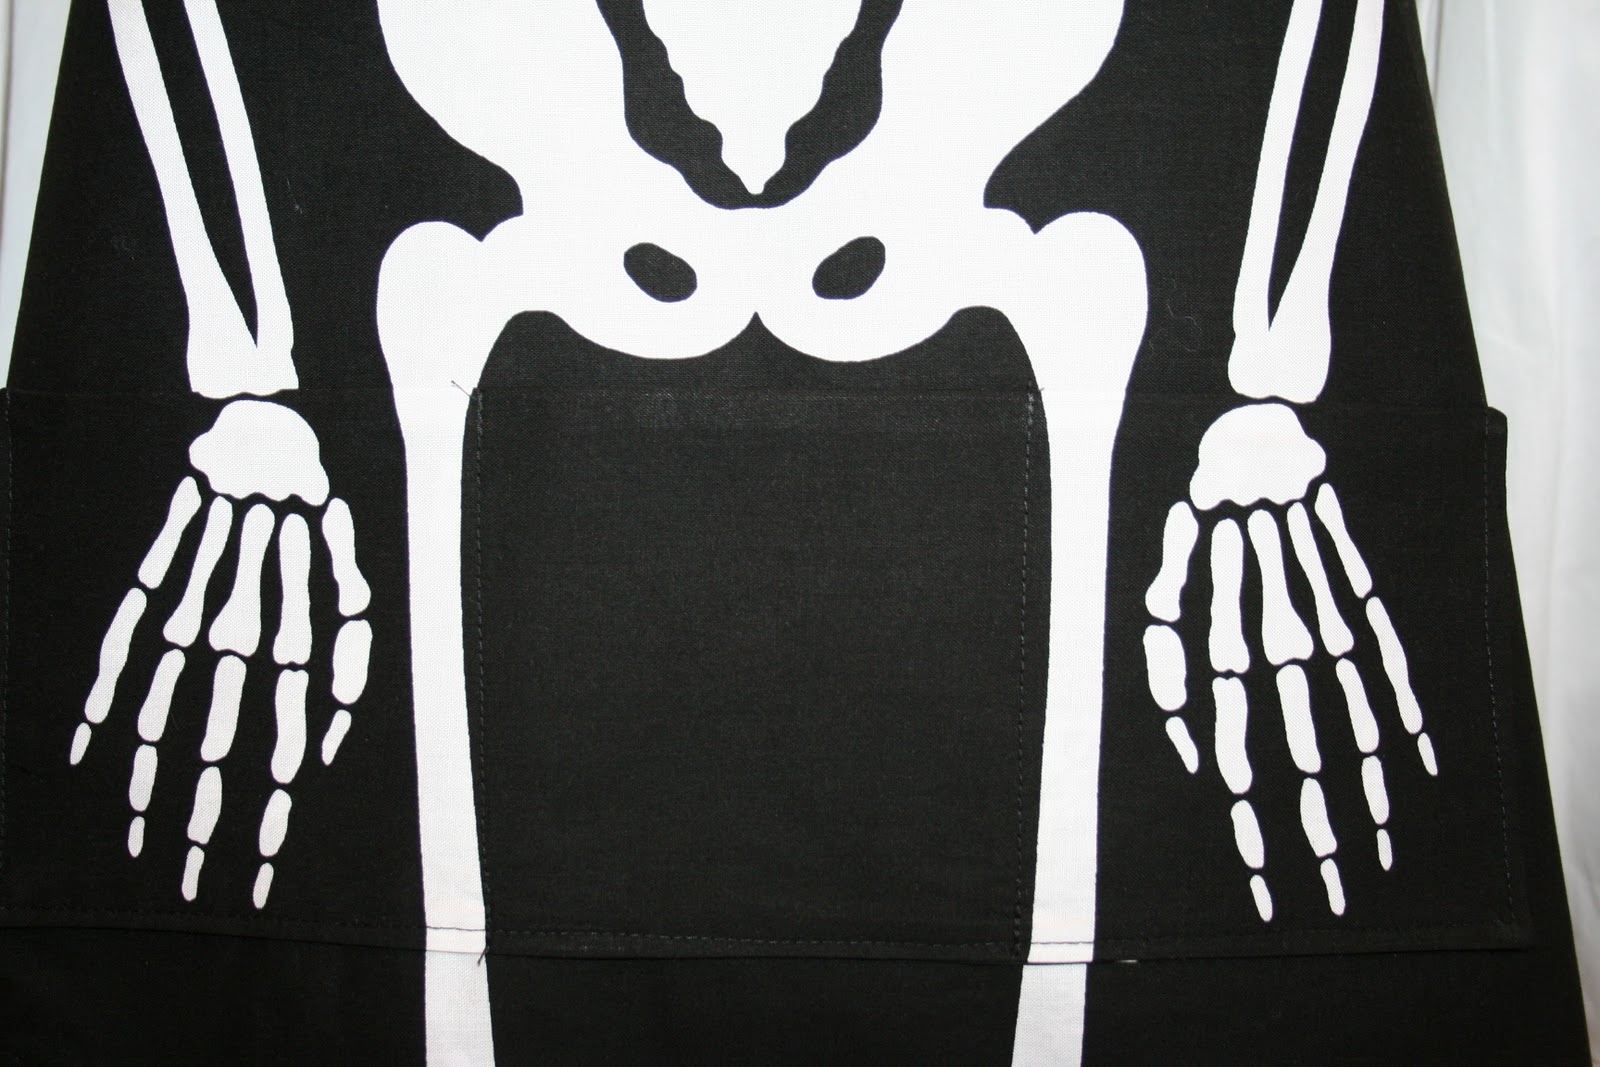
Skeleton Apron

I found this darling apron fabric panel at Joann's, along with cute coordinating fabric! I just had to get it. The skeleton has a spider on its chest and I thought, wouldn't it be cute if I added some bling and made it look like a sparkly broach. I bought some orange sequins and tiny orange beads and stitched them on. While the apron panel says to just fold under the edges and stitch, I like my aprons to look more finished and hold up better so I backed it with the cute coordinating fabric I found. It also has a three pouch pocket on the front where the hands are, although it is hard to see on the pics. This is the result. I may use it at one of the prizes for my annual Halloween party!