Wednesday, November 27, 2013

Glitter Leaves


Happy Thanksgiving to all my friends and family!!!

Today I am sharing a project I did to transform some plain silk leaves into sparkly decor for my home.


I started with a bag of plain silk leaves like these :


I brushed the leaves with a coat of Modge Podge. Starting in the middle and working my way out I sprinkled the leaves with glitter, then shook off the extra. I laid them on wax paper to dry and then repeated the technique on  the back of the leaves. I did both sides of the leaves because I was going to hang them from my dining room light. If you are just going to lay them on a table you can get by with only doing the fronts.


Here are some before and after leaves:


For the red leaves I used Candy Apple in the middle and a combination of Fire Opal and Brownstone on the edges. All by Martha Stewart.


For the orange leaves I used an orange Shimmer Glitter by Making Memories in the middle and a combo of Brownstone and Fire Opal glitter by Martha Stewart for the edges.


Last, but not least, for the yellow leaves I used Buttercup Shimmer Glitter by Making Memories in the middle of the leaves and Tangerine by Making Memories along with Fire Opal by Martha Stewart for the edges.


I hung them from my light with some green ribbon. The picture doesn't really do them justice, They are much prettier in person and I love the way they catch the light!!!!


Monday, November 25, 2013

Turkey Lollipop Holders


Happy Monday to everyone!!

I apologize I have been missing for a few weeks. I have had some family issues that have taken almost all my time. I am happy to be back with all of you now, though!!

I wanted to share some Turkey Lollipop holders I made for my grandson to hand out at school.
They were  made on my Cameo with a cut file from Silhouette Studio. I put together 30 of these little guys. Luckily they went together pretty easily and they are just to darn cute!!!


Here is a close up of one of the little gobblers:


I put a little piece of tacky tape on the bottom of the holder to help keep the lollipop in place.


Supplies used: card stock - brown, white, orange, yellow, rust, red, green; Tootsie Pops; Silhouette Studio cut file.

I hope the kids enjoy their Turkeys!!

Thanks for stopping by!!!


Tuesday, October 29, 2013

4 Frames Repurposed for Halloween


I had picked up about 10 small frames in the dollar bin at Michaels to use for a dessert buffet table I did for my sisters birthday. Originally I used the frames to announce each dessert on the buffet table.


I thought it would be fun to repurpose them for Halloween decor. I dusted off my trusty Cricut machine, pulled out my Happy Hauntings cartridge, grabbed some scraps of Halloween paper from my stash and went to work.

Here Is what I came up with:

A Scary Witch


An eerie Dracula


A spooky Owl


And Frankenstein doing the Monster Mash


Supplies used: card stock - white, black, several shades of green red, purple, brown, orange; patterned papers from my scrap stash; black, purple and green tulle; rhinestones; Pop Dots; Happy Hauntings Cricut cartridge.

Thanks for stopping by!!


Wednesday, October 23, 2013

Bride of Frankenstein Shadowbox


OK... I pretty much cased this project I found in one of my Cricut magazines. I thought it was so fun and wanted to put it in my guest bathroom. Of course I added many of my own touches, cuts, paper, etc.

I created it using an 8X10 shadowbox purchased at Michaels. I used both my Cricut and my Cameo cutting machines.


I used a ton of Pop Dots on the project for several layers of dimension, sometimes using three Pop Dots on top of each other to really raise it up.


The window frame is a Memory Box die, the curtains were cut freehand, the chandelier, candelabra  and spiderweb were cut with the Chic and Scary Cricut cartridge, the Bride of Frankensteins head and the bath tubs claws were cut with Happy Hauntings, the towel was cut with Paper Doll Dress Up, The potion bottles were cut with Frightful Affair and the bath tub, the bubbles and her legs were cut using a Silhouette Studio cut file.


For her curlers I cut small strips of black and pink paper, rolled them up and glued them to her hair.


Supplies used: card stock - white, vanilla, tan, 2 shades of green, purple, yellow,orange, pink, red, gray, black; patterned papers - Echo Park and Little Yellow Bicycle; Window Memory Box Die; Chic and Scary, Happy Hauntings, Frightful Affair, Paper Doll Dress Up Cricut cartridges; Silhouette Studio cut files; Orange Stickles, brads - Making Memories; clear Skittles; ribbon - my stash; Pop Dots; 8 X 10 shadowbox - Michaels

Have a fabulous day!!


Monday, October 21, 2013

Celebrate Birthdays


Happy Monday!

I hope you had a productive and fun weekend, I know I did!! I got so much accomplished for my Halloween party on Saturday. I'm really looking forward to it :)

I have a couple simple birthday cards to share with you today.

The first is a masculine card for Operation Write Home, using their sketch # 164.


I simply flipped it on its side and pulled out some new papers I got from The Paper Loft.


Supplies used: card stock - gray, green; patterned paper - Geese in Huckleberry pond by The Paper Loft; brads - Making Memories; sentiment sticker - Metal Captions by Mrs. Grossmans; Pop Dots.


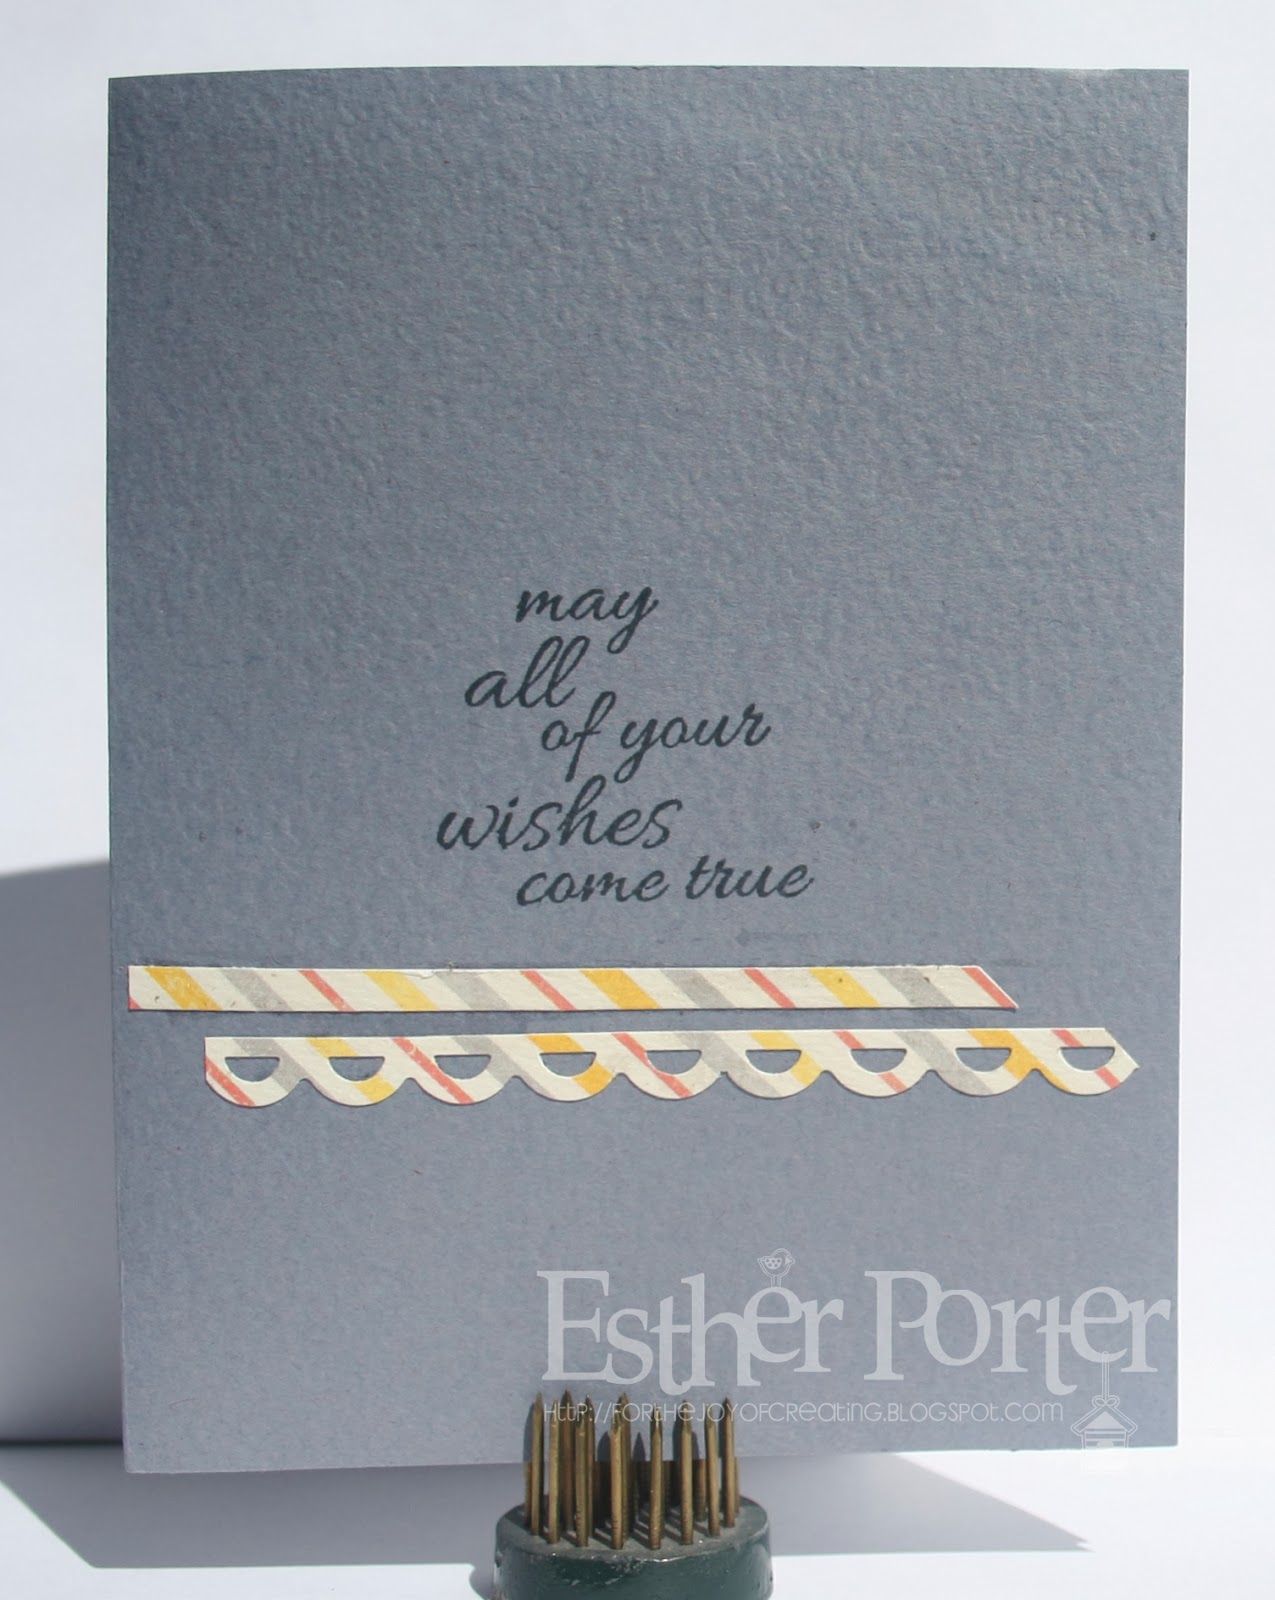
The second birthday card is using a pretty stamp set by Unity called True Wishes. I stamped the dandelion heads in yellow and then added some Clear Dazzle glue by Hero Arts.


Supplies used: card stock - grey, white; patterned paper - Persevere in Be(you)tiful by Authentique; stamps - True Wishes by Unity, and Happy Birthday sentiment stamp from my stash; ink - Tuxedo Black by Memento, YoYo Yellow by Stampin' Up; Clear Dazzle Glue by Hero Arts; ribbon - Doodlebug; embossing folder - James, set by Cuttlebug; border punch - Fiskars; Pop Dots.

Thanks for stopping by and have a wonderful week!!!


Friday, October 18, 2013

Happy Haunting


Happy Friday!!

Sorry I've been missing in action this week, but I've been knee deep in getting things ready for my annual Halloween party and also helping out with Link Up For Pink.

I'm popping in today to share a couple of simple Halloween cards with you.

The first uses a fun bat from Paper Smooches, stamped on black paper with white ink, fussy cut and a couple of google eyes added. A few banners cut out of some fun patterned paper, a bat border punch by Martha Stewart used on one edge and some twine.


Supplies used: patterned papers - Weathered Black by Lasting Impressions, Icon Stripe and Witches Feet in Spook Alley by Making memories, Toil & Trouble by The Girls Paperie, and Monster Stew by Jillibean; stamps - Falling For You by Paper Smooches and $ bin at joAnns; ink - Tuxedo Black by Memento; and white by a la Mode; Copic marker; bakers twine - my stash; twine Liz's Paper Loft Boutique; charm - Doodlebug; border punch - Martha Stewart; Google Eyes, Pop Dots.


The second card uses a sketch from DeConstructed Sketches to just layer some papers by Cosmo Cricket, with the top stamped with a sentiment stamp by Bug Bites. Then a chipboard bat, also by Cosmo Cricket, added for fun.


Supplies used: card stock - dark orange, black; patterned papers - Them Bones, Nevermore, and Ominous all in Haunted by Cosmo Cricket; tag - Haunted by Cosmo Cricket; blackboard bat in Haunted by Cosmo Cricket; stamp - Magic Spells by BugBites; ink Jet Black Archival.